Changing the Runtime Environment for an Azure App Service

About six months ago, I built a small API application designed specifically for Azure. It leveraged several Azure-native features, including synchronization mechanisms and Azure App Registration for sending requests to SharePoint. The application was built using .NET 8 and deployed to a development environment.
After the initial deployment, the solution was reviewed by the customer and demonstrated internally. Recently, I was asked to prepare the application for production.
Over time, many of the project’s dependencies had become outdated. Rather than upgrading them incrementally, I decided to move the entire solution to .NET 10 and update all packages to their latest versions. While I’m not strictly following a “zero trust” approach to updates, I generally prefer keeping dependencies current to benefit from performance improvements, security patches, and long-term support.
The application was running as an Azure App Service configured with the .NET 8 runtime. After upgrading the codebase, it became necessary to switch the runtime environment to .NET 10.
However, this wasn’t entirely straightforward. The application relies on a Managed Identity to retrieve a certificate from Azure Key Vault. Because of this dependency, I couldn’t simply delete the existing App Service and create a new one without reconfiguring identities and permissions.
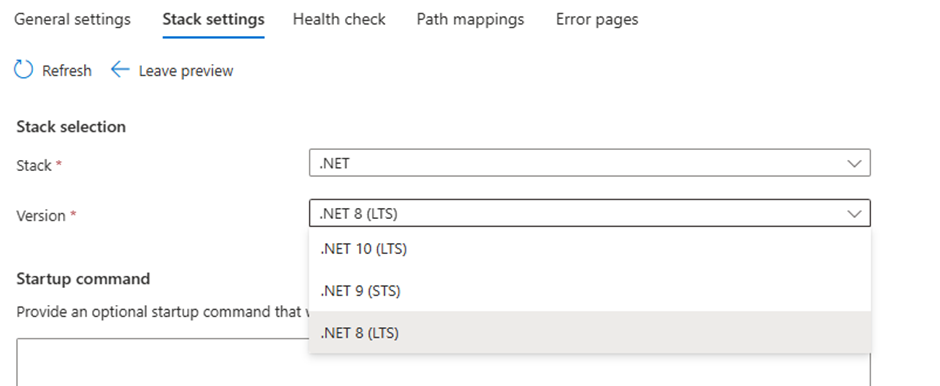
Instead, I updated the runtime stack of the existing App Service. This can be done in the Azure Portal under:
Settings → Configuration → Stack settings
By changing the runtime version from .NET 8 to .NET 10, I was able to keep all existing configurations intact - including Managed Identity and Key Vault access - while running the updated application.
 Custom Label with multiple styles in TextField of Fluent UI
 Changing the Runtime Environment for an Azure App Service