Create web test in Visual studio 2013
My post yesterday was about how to get to results of load test. Now I realized that I still hadn't posted about how to create web test and load test in Visual Studio 2013. In Visual Studio 2013 Professional it's rather easy to do – you don't need to install add-ons or plugins, everything is already included.
Web test allows developer to check application before release. Once you record actions, then after each build of application you just execute tests and look at the results. You don't need to repeat a lot of the same steps.
Load web test consists from two parts – web test and the load for it. This part is about web test.
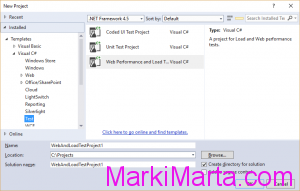
So start Visual studio 2013 and create a new Project and choose "Web Performance and Load Test" (Figure 1).
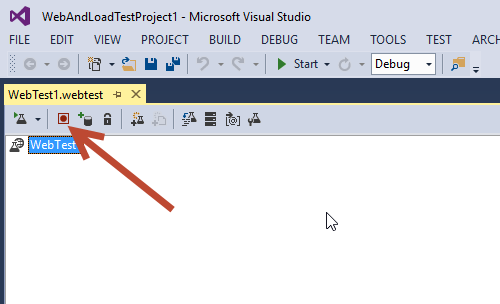
Now you can see the empty web test window (Figure 2). It's rather easy to create a web test manually using recording. Visual Studio contains recording plugin for Internet explorer. When you start recording, IE will be started and you should make those actions that you want to be done in Load test. For example, you can open start site page, add products to basket and order them. To start recording press "Add recording button" (Figure 2).
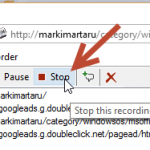
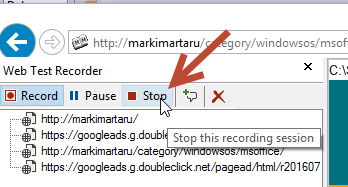
When you press the button "Add recording button" Internet explorer with Add-on "Microsoft Web Test Recorder" will be executed. Then you should make user actions which you want to test. When you finish, press "Stop" button in Add-on in IE (Figure 3). If you have changed your mind and don't want to record your actions, press "Clear all requests".
After finishing recording the web test, VS will create steps of test. You can add validation rules, loops or conditions, and add steps manually. If your test is not very simple, than you won't go away from additional work with test.
Press "Run test" to execute a web test (Figure 4).


 How to save load test results in Visual Studio 2013