Create .Net application with RabbitMQ on your local machine
If you want to write an application which uses RabbitMQ, I advise you to use docker image of Rabbit. It's lightweight and can be easily executed.
Download and start docker image with a powershell command:
docker run -it --rm --name rabbitmq -p 5672:5672 -p 15672:15672 rabbitmq:3.12-management
Of course, docker must be installed on the machine 🙂
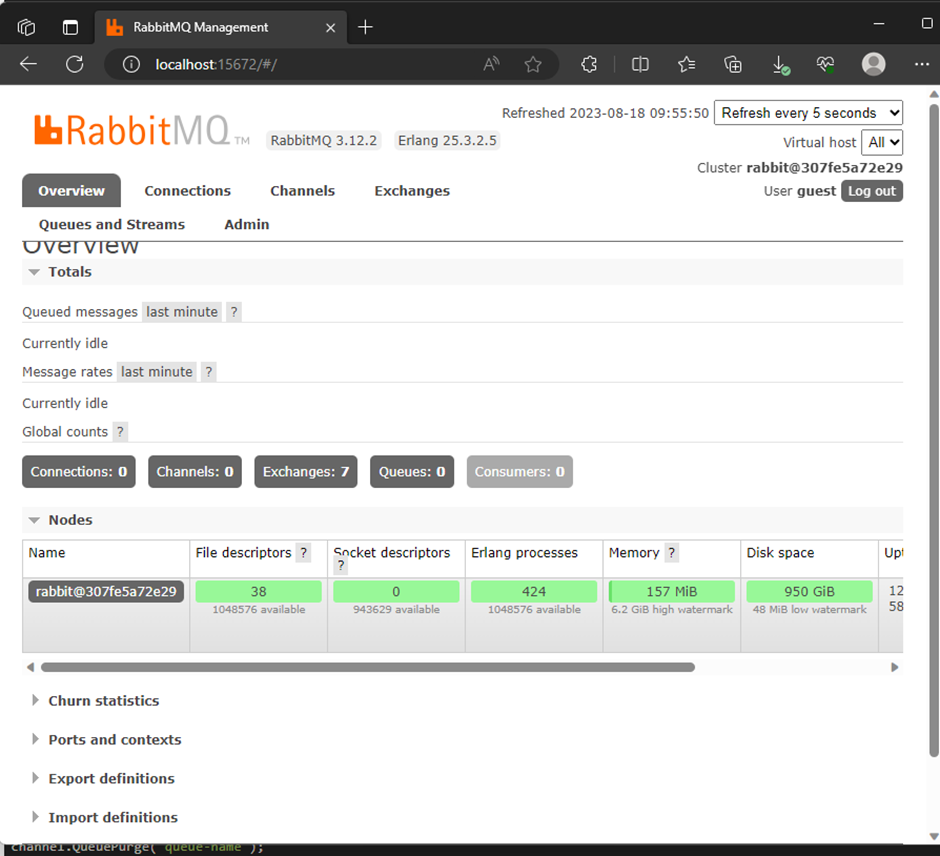
Administration url is http://localhost:15672/#/, default login-password are guest / guest. To set different credentials you can start docker with another command:
docker run -d --hostname my-rabbit --name some-rabbit -e RABBITMQ_DEFAULT_USER=user -e RABBITMQ_DEFAULT_PASS=password rabbitmq:3-management
Next step is to create console application in .Net 6 and add the package RabbitMQ.Client:
NuGet\Install-Package RabbitMQ.Client -Version 6.5.0
Simple example for the listener of RabbitMQ is here
using RabbitMQ.Client;
using RabbitMQ.Client.Events;
.......


        public void FirstAttempt()
        {
            var factory = new ConnectionFactory
            {
                HostName = "localhost"
            };
            var connection = factory.CreateConnection();
            Console.OutputEncoding = Encoding.UTF8;
            //Here we create channel with session and model
            using
            var channel = connection.CreateModel();
            //declare the queue after mentioning name and a few property related to that
            channel.QueueDeclare("product", exclusive: false);
            //Set Event object which listen message from chanel which is sent by producer
            var consumer = new EventingBasicConsumer(channel);
            consumer.Received += (model, eventArgs) => {
                var body = eventArgs.Body.ToArray();
                var message = Encoding.UTF8.GetString(body);
                Console.WriteLine($"Product message received: {message}");
            };
            //read the message
            channel.BasicConsume(queue: "product", autoAck: true, consumer: consumer);
            Console.ReadKey();

} Net 10.0 is not available for Azure Functions. How to fix
 Custom Label with multiple styles in TextField of Fluent UI